
Easy Inexpensive and Eco-friendly
Waterproof Garden Pots, Urns, Bird Baths and Fish Ponds
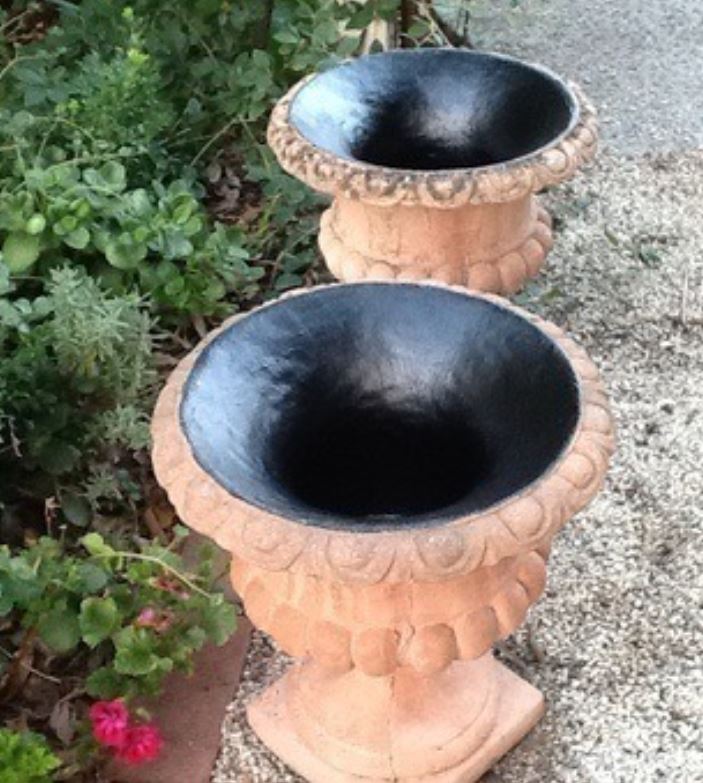
Terracotta -- which comes from the Latin "terra cotta," or "baked earth" – are traditional containers for plants and look great in most settings. The “earthy” look of a terracotta pot is a bit more aesthetically pleasing than plastic containers!
However terracotta pots are porous and this causes a number of problems, predominately water will soak through the pot or urn unless it is sealed and waterproofed.
This means terracotta pots dry out t fast and always require frequent watering.
And frequent watering also means more frequent feeding as watering washes the nutrients out of the soil with each session.
Using Liquid Rubber is an easy, cost effective way to seal and waterproof all your garden pots and so reducing your maintenance watering. Liquid Rubber is eco-friendly and safe all plants and animals.
And while you have a paint brush and a bucket of Liquid Rubber out for your garden pots, how about waterproofing your birdbath and fish ponds as well !


Liquid Rubber is eco-friendly meaning it is non-toxic for your plants as well as non hazardous for you to apply.
Before applying Liquid Rubber, and especially if it is an old pot, give it a good scrub to wash away loose debris and any lingering diseases problems which could hinder the healthy growth of your new plants.
Scrub inside with cold clean water and a wire brush.
Once your pot has been properly cleaned and all loose debris removed, now all you need to start waterproofing is a bucket of Liquid Rubber, gloves to keep your hands clean and a standard paint brush.
You only need to waterproof the inside surface of your pot. Apply Liquid Rubber evenly with your paint brush. If a terracotta pot has developed cracks, Liquid Rubber will bridge these cracks and seal from the inside and preventing further spread of the crack.
Let your terracotta pot dry thoroughly before planting.